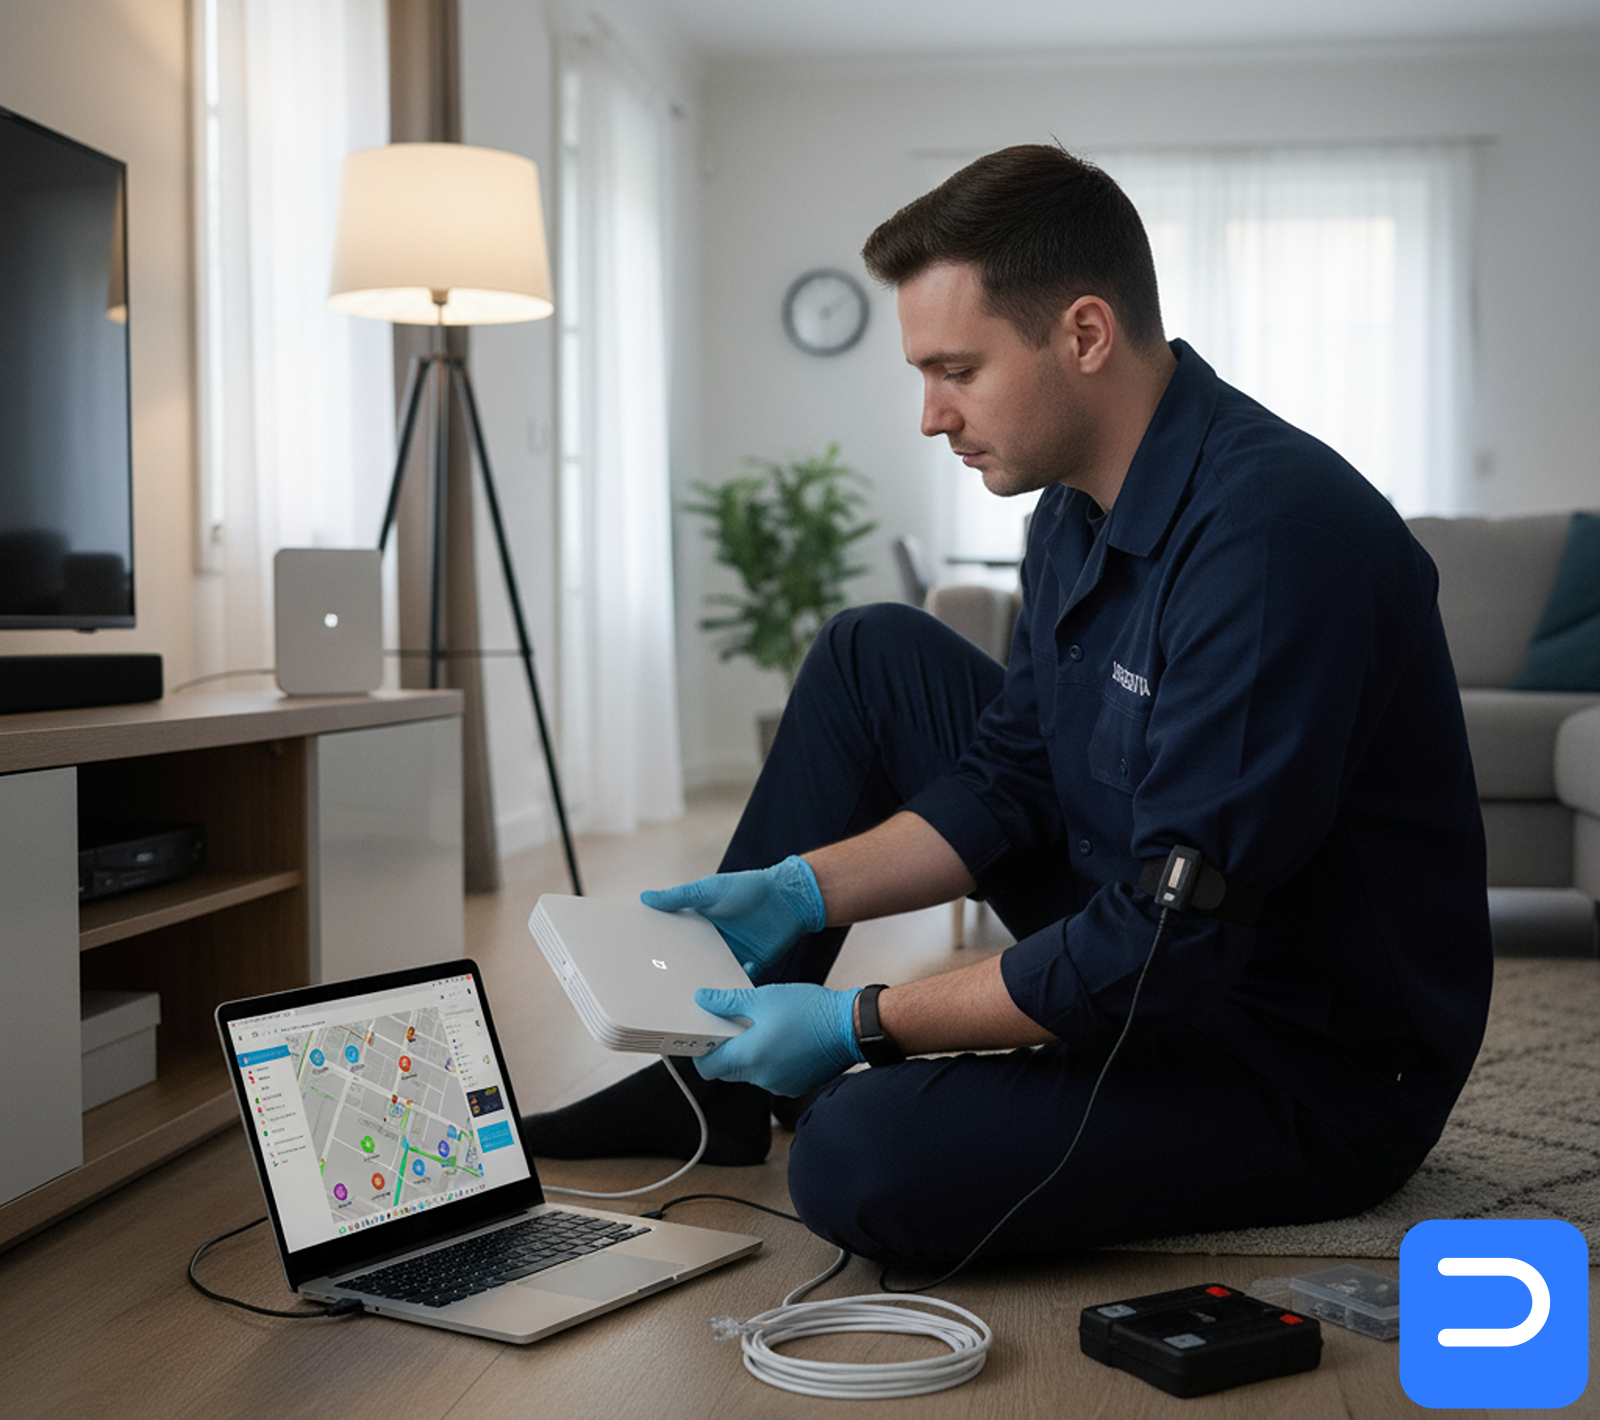
Mesh Wi-Fi Planning & Install
Serving Stellenbosch & surrounds • Transparent pricing • POPIA-aligned

What’s included
- Site walk-through and coverage check
- AP placement and channel plan
- Install and adopt mesh nodes
- Post-install validation with notes
Details
TL;DR: We plan where each node should go, install the mesh, and test roaming so Wi-Fi works in every room.
Local: Great for SU student houses in Idas Valley, families in Welgevonden/Die Boord, and Technopark offices that need steady calls.
Problems we fix
- Strong speed near the router, weak in bedrooms or the kitchen
- Zoom/Teams stutters or drops when you walk around
- Printers or smart TVs fall off the network
- Old range extenders make new network names and slow things down
- Garden flat or outbuilding has no signal
How we do it (at a glance)
- Quick site check: walls, floors, and where power lives
- Plan: node placement, channels, and backhaul (wireless or Ethernet)
- Install: mount or place nodes, set one SSID + a guest SSID
- Tune: channels, transmit power, roaming and band-steering
- Test: speed spots, hand-off while walking, printer/TV joins
- Notes: short write-up with your network name, password, and simple tips
Plain words. No network jargon.
Time & cost in Stellenbosch
- Planning fee: R300 (this page)
- Install labour: quoted after the walk-through (typical 1.5–3 hours for 2–3 nodes)
- Hardware: billed at store price; we share options before you buy
- Turnaround: Often same day for 2–3 nodes; bigger homes may need a half-day
- See fees: /legal/standard-fees/
Do-nots (save time and money)
- Don’t chain cheap extenders; they cut speed in half each hop
- Don’t hide nodes in cupboards or behind TVs — signal hates metal and glass
- Don’t put all nodes in a straight line far apart — overlap matters
- Don’t leave ISP routers on auto everything — we’ll set calm, clean channels
When to stop DIY & call us
- Speed is fine at the router but awful two rooms away
- Video calls drop when you move between rooms
- Smart gear (TV/Sonos/printer) won’t stay online
- You tried a mesh and it still feels patchy
Real stories around town
- SU digs (Idas Valley): Two brick walls killed the lounge signal. We placed three Deco nodes with smart backhaul. Calls went smooth, even in the kitchen.
- Die Boord double-storey: Router hid in a cupboard. We moved it out, added two nodes, and set a guest SSID. Netflix stopped buffering.
- Technopark office: Boardroom Wi-Fi died when full. We added a ceiling AP on wired backhaul and tuned channels. Meetings stayed clear.
Simple care tips
- Keep nodes in the open at chest height if you can
- Update mesh firmware when the app suggests it
- Use a small UPS for the fibre ONT and main node to ride out load-shedding
- Label your SSID and password on a card in the study
What’s included
- Site assessment and a simple placement + channel plan
- Install/adoption of mesh nodes; main + guest SSID
- Post-install checks for speed and roaming
- Written notes with your setup and a few easy tips
What we’ll need
- Access to your fibre ONT/router and admin details if we bridge
- A floor plan or a quick walk-through
- Your ISP login if PPPoE is used (we’ll ask first)
Handy links
- Book a quote: /contact/
- Quick remote nudge first? /services/remote-support-setup/
- Odd device behaviour? /services/diagnostic-in-shop/
- Hourly help for extras: /services/labour-standard-hours/
- See fee table: /legal/standard-fees/
POPIA-aware handling • CPA-aligned warranties • Lawful e-waste routing on request (with data-wipe certificate)